Aura devices
Available nowAir-quality device
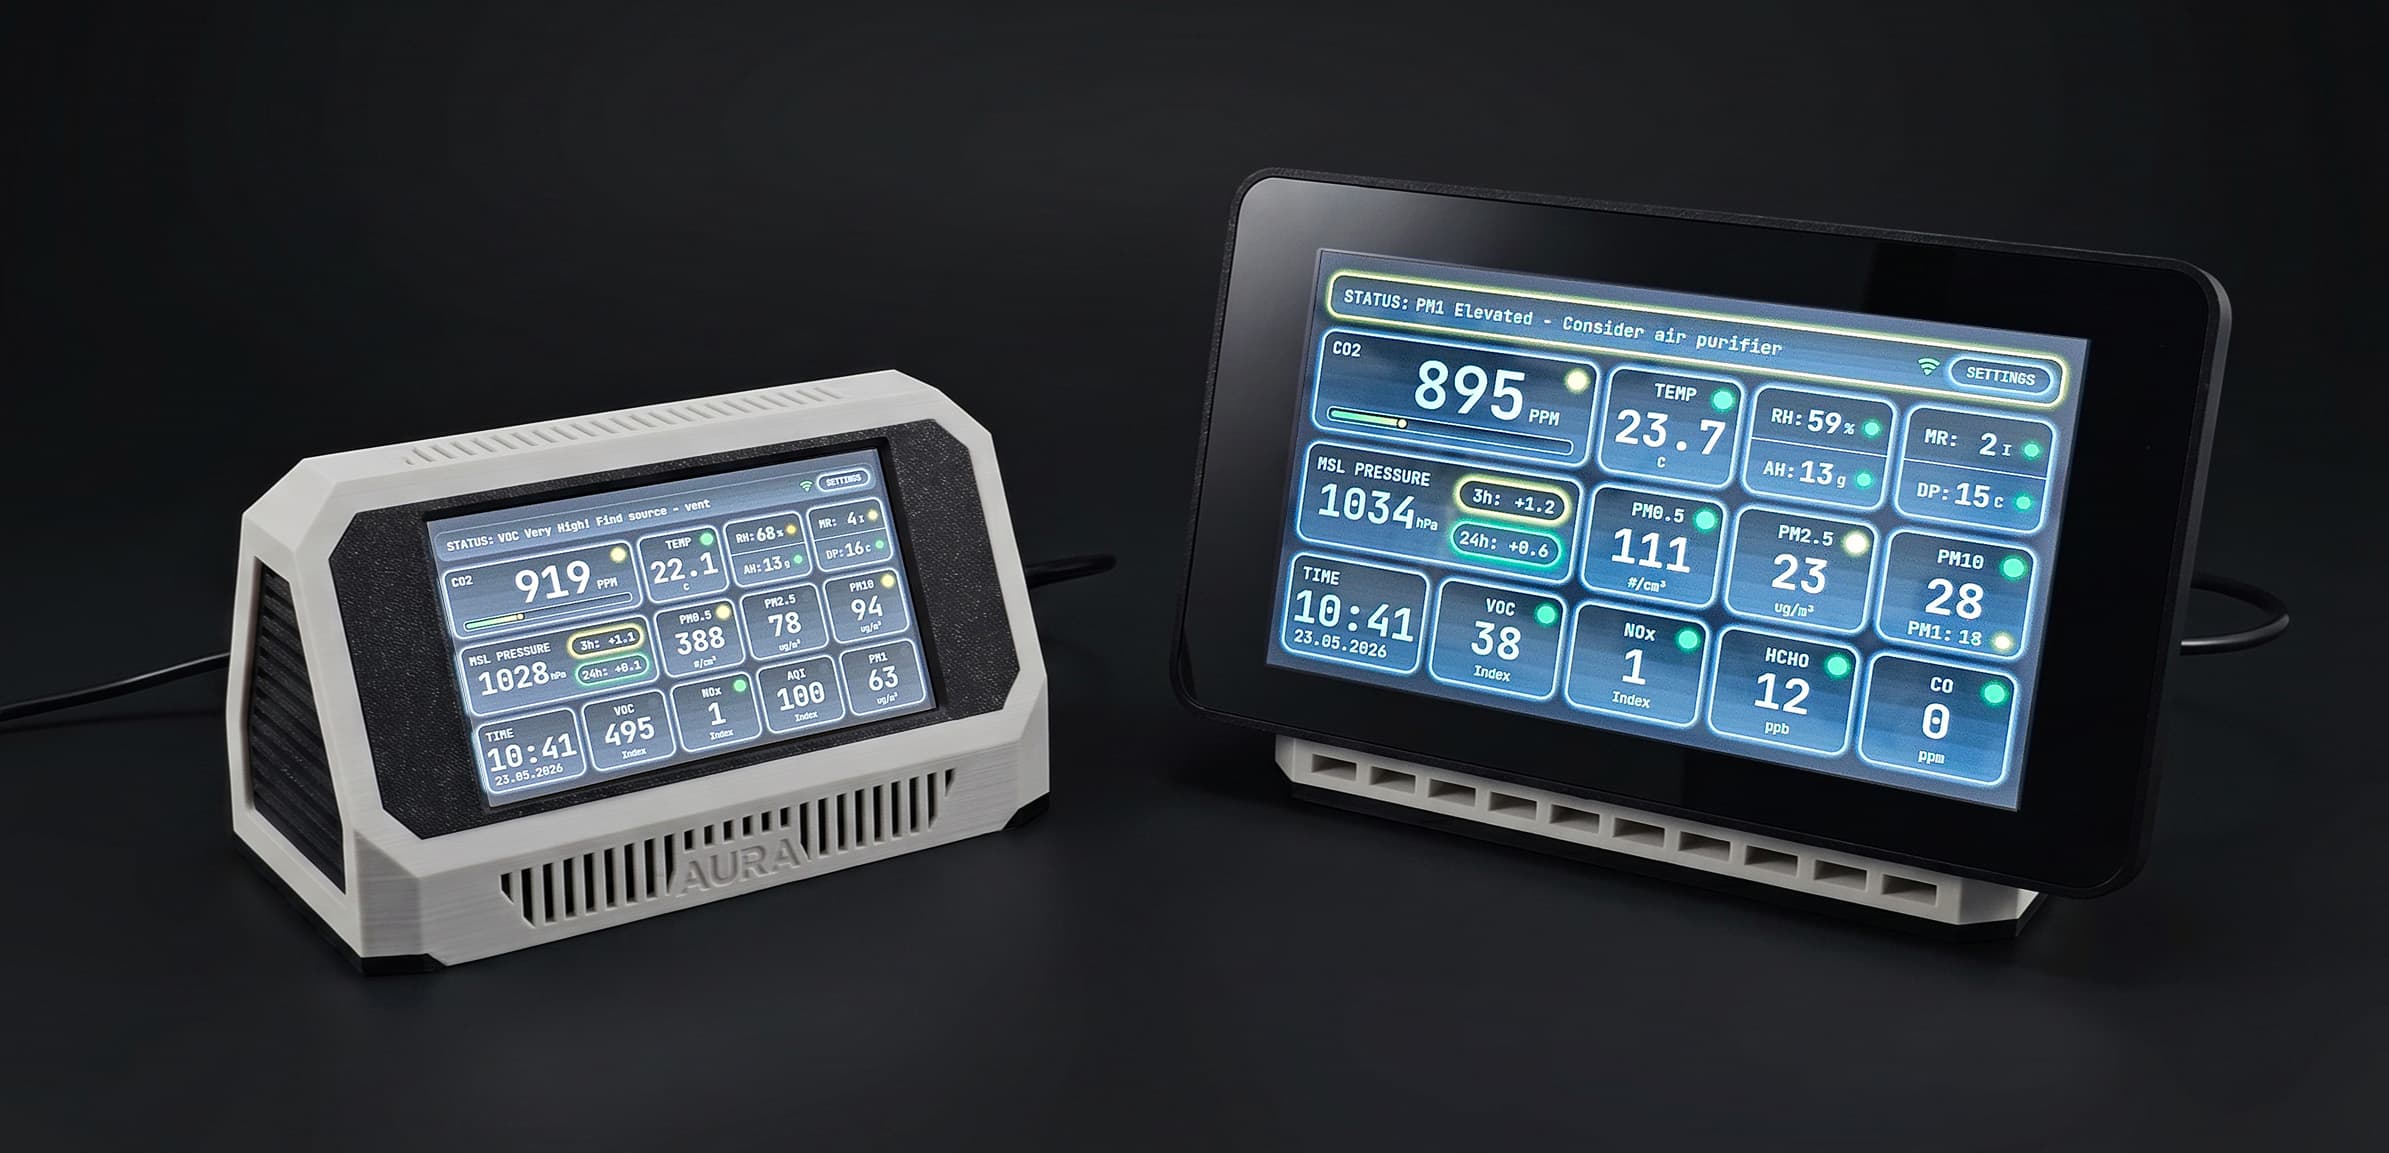
Project Aura AQ is the first shipping Aura device.
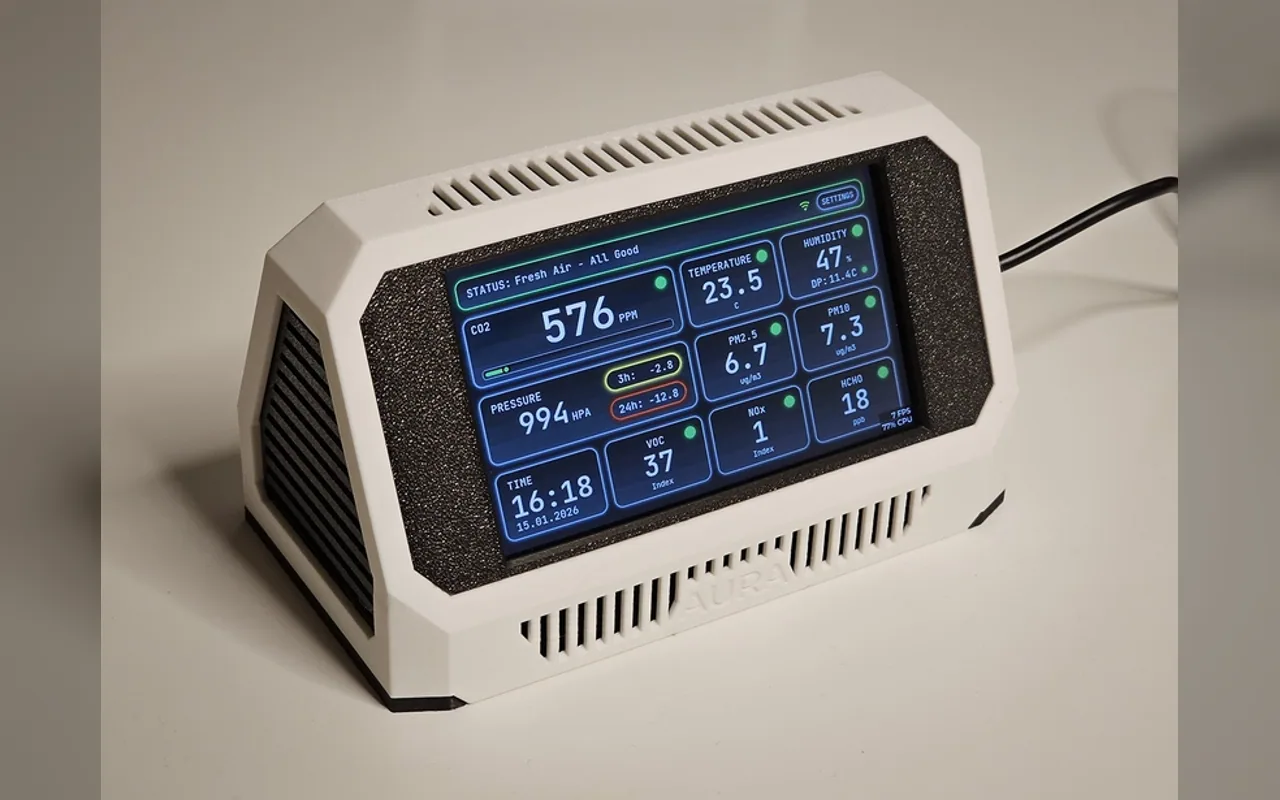
Aura AQ is the ready air-quality station for the ecosystem: printable enclosure, ESP32 firmware, 4.3-inch touch UI, local web dashboard, OTA path, MQTT discovery and Home Assistant integration.
Device pages
One URL per hardware and firmware lane.
Aura AQ starts as the first full page. Satellites, Hub and Link can use the same pattern later with their own compatibility notes, firmware target and installer entry point.
Available nowAir-quality deviceAura AQFinished ESP32-S3 air-quality device with touchscreen UI, local dashboard, MQTT discovery and Home Assistant support.Aura AQ firmware installerPlannedRoom sensor nodesSatellitesCompact room nodes for extending air-quality coverage where a full touchscreen device is not needed.Satellite firmware lane In developmentLocal coreHubLocal panel and bridge for pairing Aura devices, showing room status and coordinating the ecosystem without depending on the cloud.Hub setup lane Private alphaOptional remote layerLinkOpt-in remote dashboard, hosted history, alerts and reports for setups that need access outside the local network.Link setup lane
Overview
What belongs on this device page.
Complete builder kit
The device page can organize the enclosure files, BOM, assembly guide and firmware path in one place for backers.
Local-first setup
AP-mode onboarding, local dashboard and device UI work without cloud dependency, accounts or subscriptions.
Touchscreen air monitor
The product story should lead with the finished-device feel: ESP32 base, touch display and sensor-rich air monitoring.
Home Assistant ready
MQTT discovery and HA examples keep Aura AQ useful inside existing smart-home setups.
Open firmware path
Build files, firmware source, releases, installer links and support threads should stay clearly separated.
PCB build BOM
Build Aura AQ without guessing parts.
Start with the required PCB path, choose the display size, then add only the sensors you need. Cable notes and buy links stay next to the exact part.
Source basis
MakerWorld BOM links, optimized local WebP photos and Aura firmware compatibility notes. The paid build guide remains the wiring reference for backers.
Open MakerWorld projectRecommended clean build with the sensor hub PCB instead of separate Adafruit hub, RTC, pressure, capacitor and adapter boards.
Add optional sensors only for the room or workflow you actually need to monitor.
Use a stable supply and a short, good-quality USB-C cable before judging sensor behavior.
Step 1
Choose the display board.
Both builds use the Aura AQ firmware lane. The only hard requirement is the correct 16 MB flash Waveshare board.
Compact
4.3" build
Waveshare ESP32-S3-Touch-LCD-4.3- Compact desktop size.
- Four enclosure styles available.
- Best choice for most builders.
- 16 MB flash is mandatory.
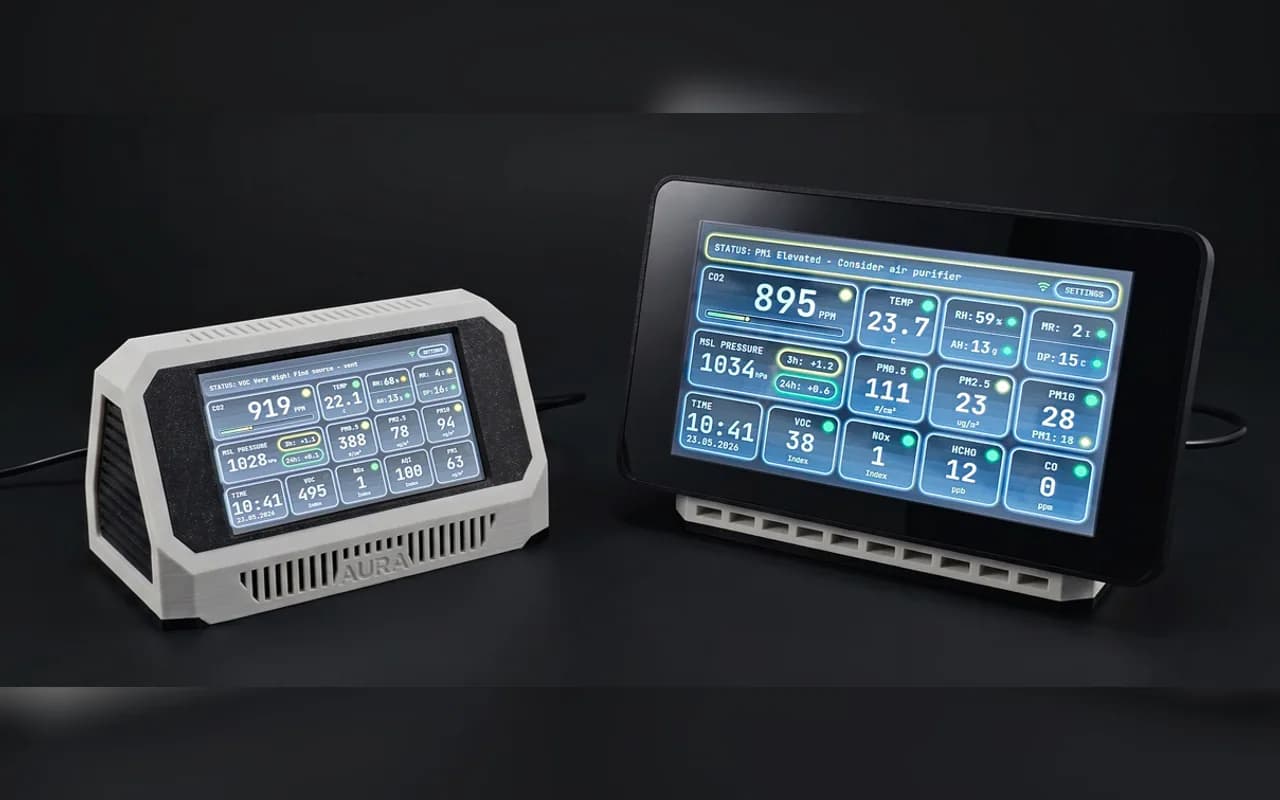
Large screen
7" build / Aura XL
Waveshare ESP32-S3-Touch-LCD-7.0- Larger screen and larger enclosure.
- Better readability from across the room.
- 16 MB flash is mandatory.
- Not compatible with A1 Mini due to size.
Important board warning
- 8 MB flash Waveshare boards will not work with Project Aura firmware and filesystem.
- Buy the correct 16 MB flash version and verify the listing before ordering.
Step 2
Cable reference
The PCB build removes most cable decisions. Only the SEN66 cable needs to be bought separately.
The PCB keeps the wiring simple.
With the Aura PCB build, the Waveshare board and optional sensor modules use their own included cables. You do not need to buy the classic Grove, STEMMA QT or Qwiic cable bundle for this path.
- Use the cable included with the Waveshare display board.
- Use the included cables from optional DFRobot sensor modules.
- Buy only one separate cable for the SEN66 sensor.
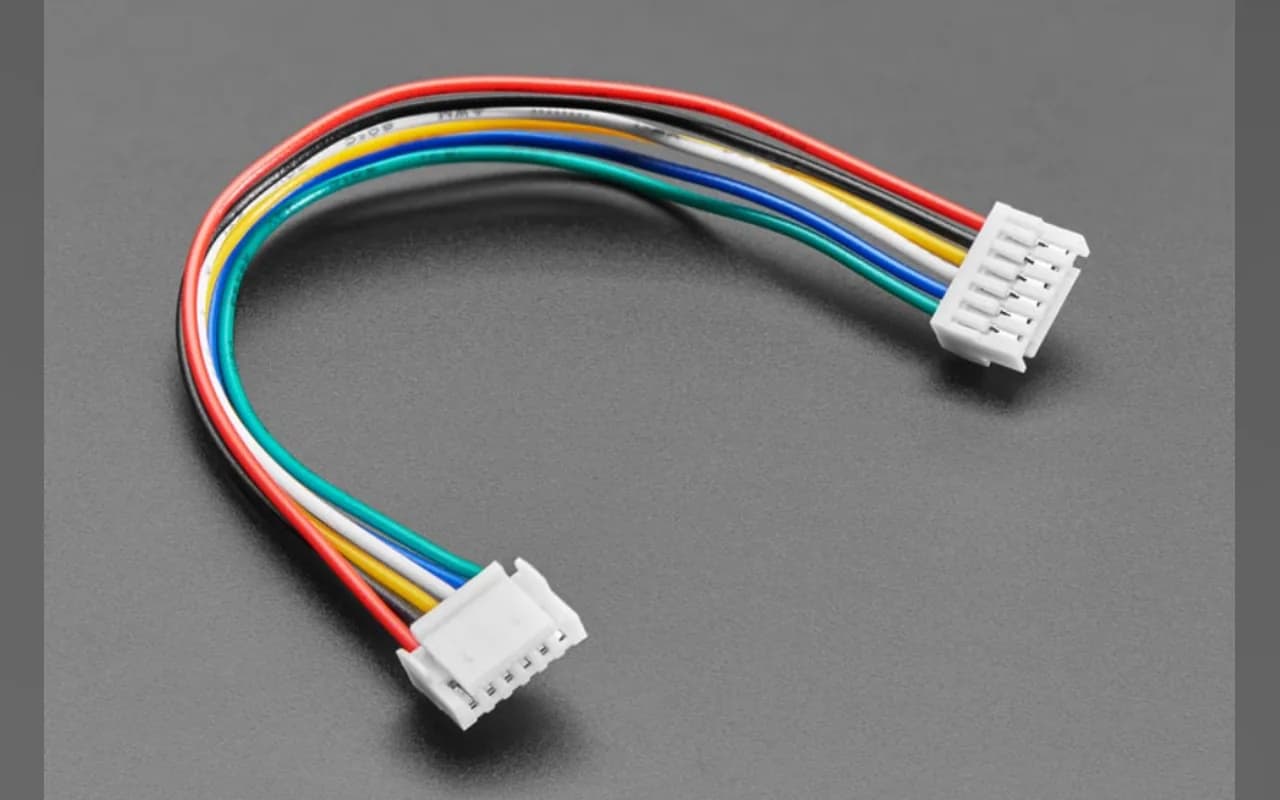
Sensirion does not include this cable with the SEN66, so it must be sourced separately.
Adafruit 5754Step 3
Parts list
Required PCB build first, optional sensor expansion second, and support parts last.
Core PCB build
After choosing the display board, these parts make the main air-quality telemetry path work.
RecommendedQty 1
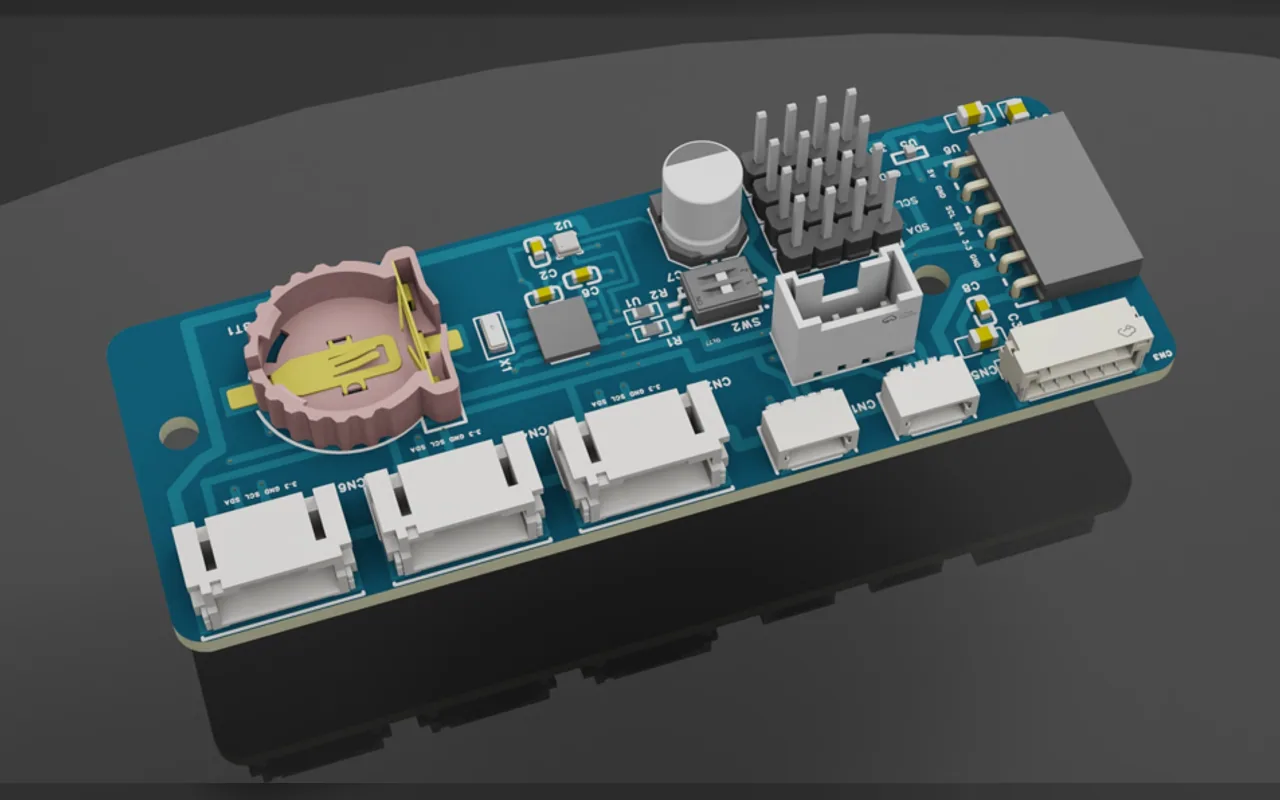
Project Aura AQ Sensor Hub PCB v1.1
Clean PCB base with dedicated ports for the sensor build.
RequiredQty 1
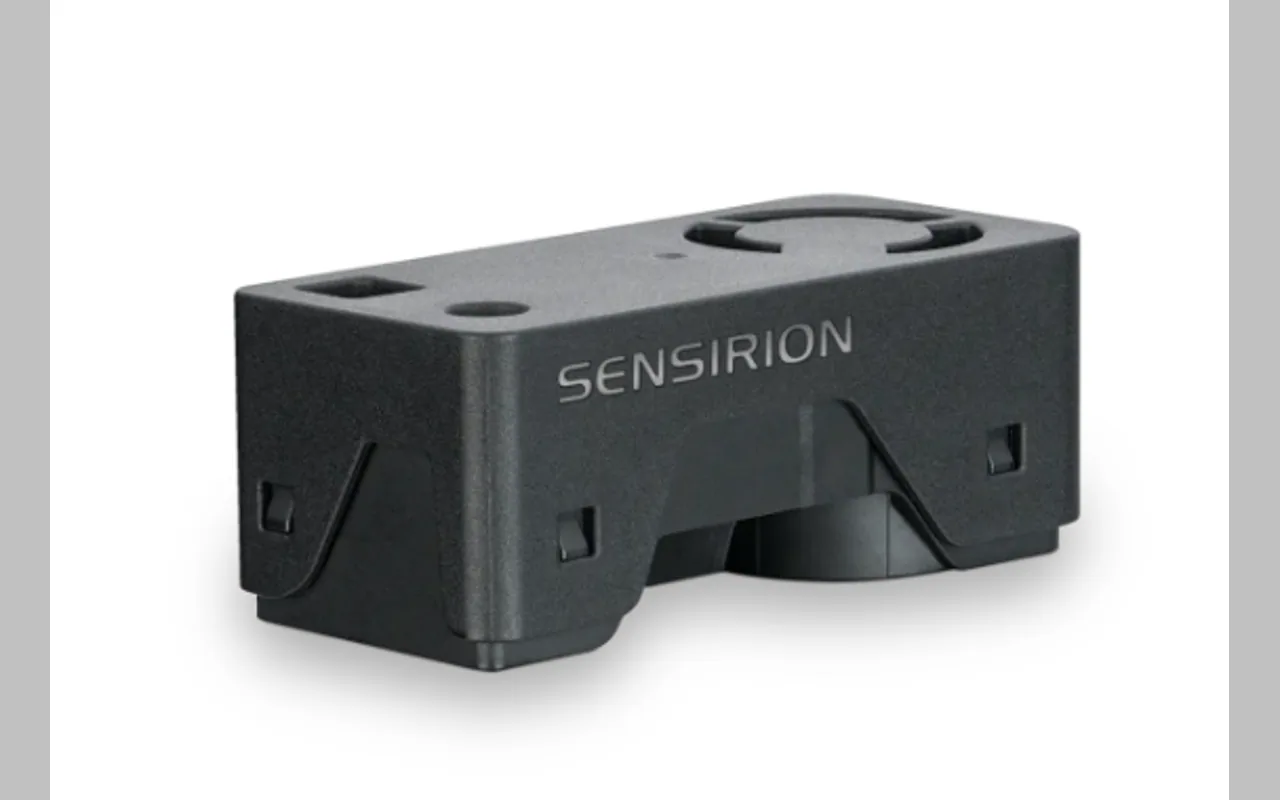
Sensirion SEN66
Main PM, CO2, VOC/NOx, temperature and humidity sensor.
- Model
- SEN66 all-in-one air-quality sensor
- Port
- SEN66 port on the Aura PCB
- Note
- VOC/NOx need warmup; firmware shows the warmup state.
CableJST-GH 1.25mm pitch 6-pin, about 100mm.
Buy links
Optional sensors
Install only what matches the actual space: workshop, laser room, garage, farm, lab or ventilation experiment.
OptionalQty 0-1
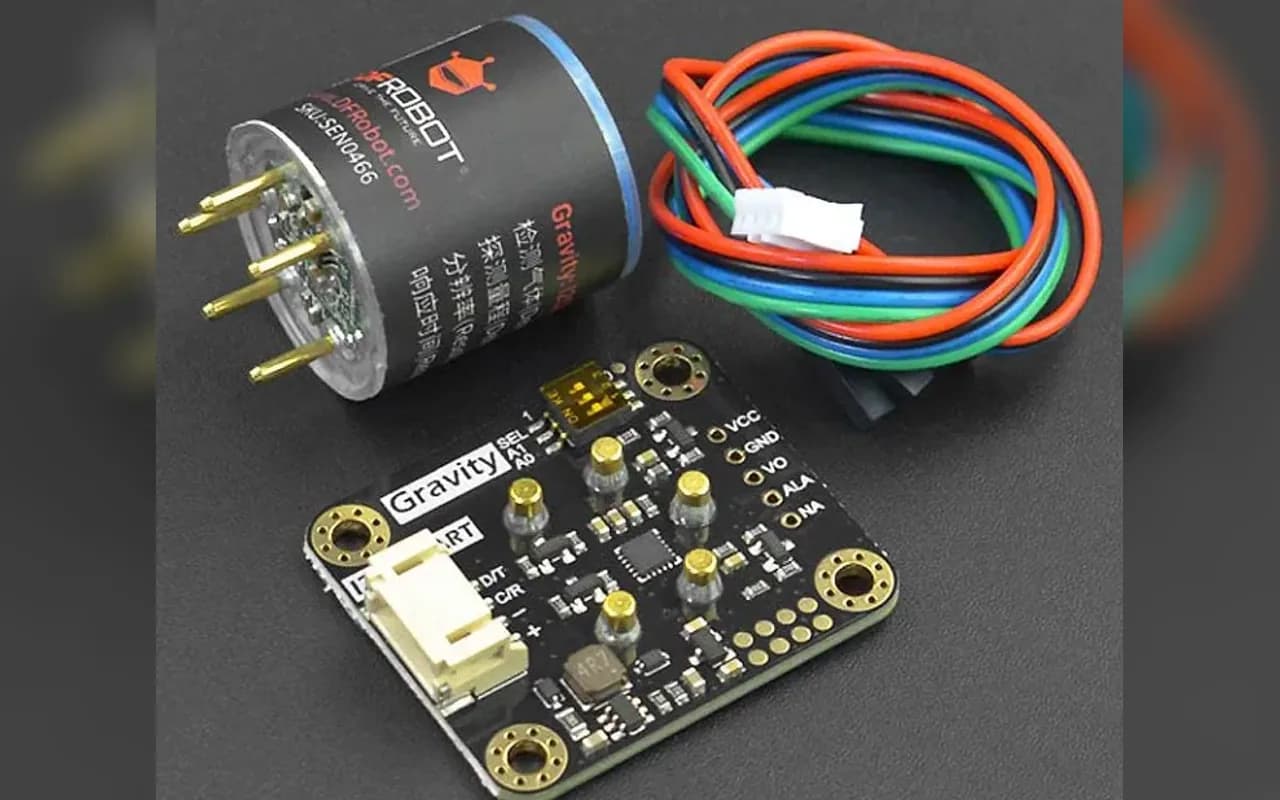
Carbon monoxide sensor
CO telemetry for garages, combustion-adjacent spaces and experiments.
- Model
- DFRobot SEN0466 electrochemical CO
- Port
- CO port on the Aura PCB
- Note
- Telemetry only; Aura AQ is not a certified life-safety CO alarm.
CableIncluded DFRobot module cable.
Buy links
OptionalQty 0-1
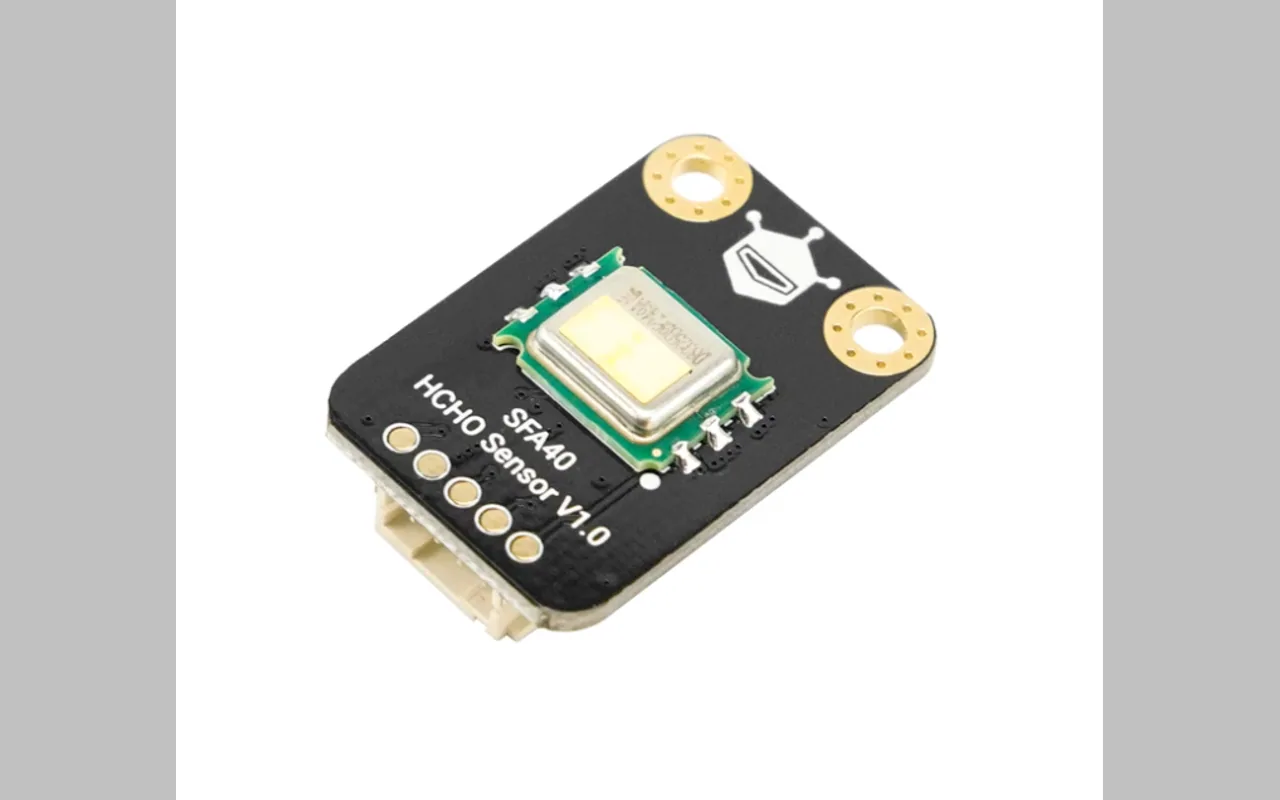
Formaldehyde sensor, SFA40 path
HCHO readings for furniture, adhesives, paints and renovation spaces.
- Model
- DFRobot SEN0661 / Sensirion SFA40
- Port
- HCHO/SFA40 port on the Aura PCB
- Note
- Use the SFA40-based SEN0661 path for new builds.
CableIncluded DFRobot SEN0661 cable.
Buy links
OptionalQty 0-1
Optional DFR electrochemical gas slot
One specialized gas channel for farms, labs, storage or production rooms.
- Model
- Choose one: NH3, SO2, NO2, H2S or O3 DFRobot module
- Port
- DFR gas port on the Aura PCB
- Note
- Use one module at a time; set I2C address to 0x75.
CableIncluded DFRobot module cable.
OptionalQty 0-1
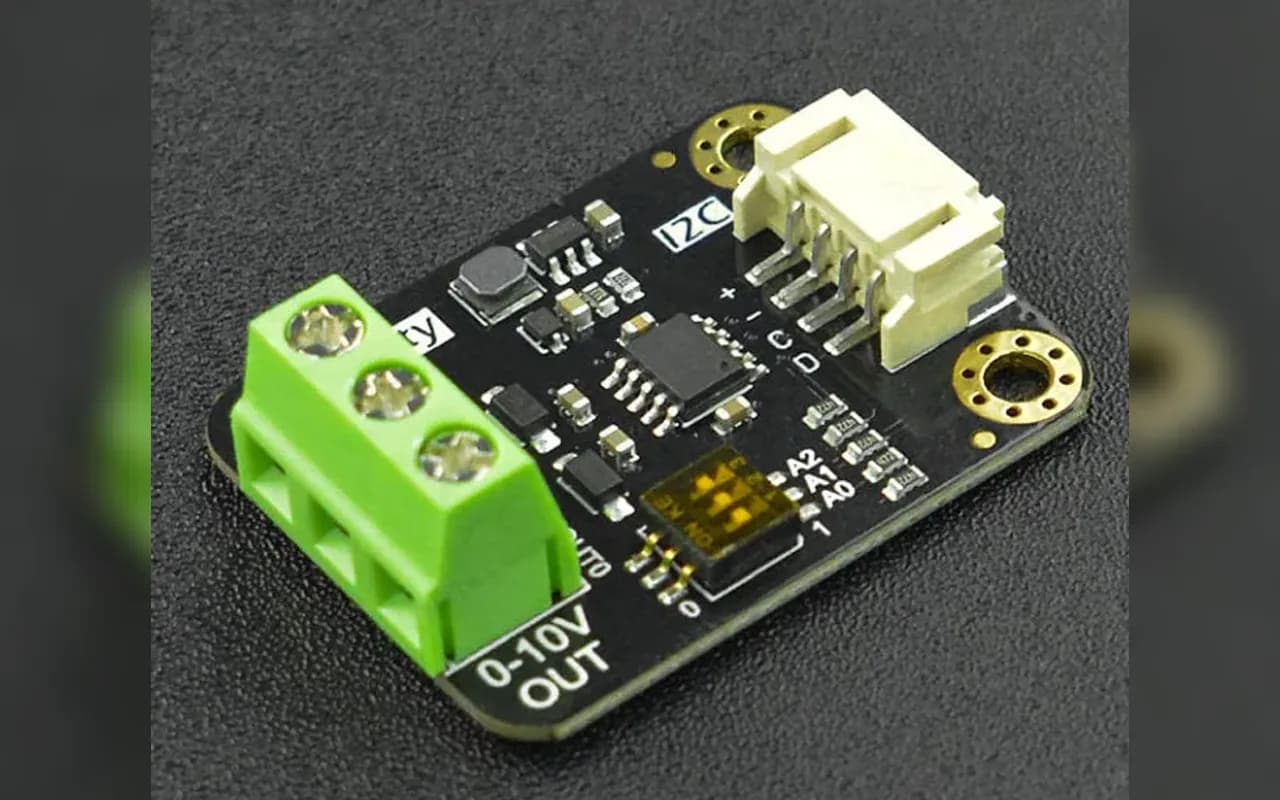
0-10V DAC output
0-10V output for ventilation or control experiments.
- Model
- DFRobot DFR0971 / GP8403 2-channel DAC
- Port
- DAC port on the Aura PCB; VOUT0 is used
- Note
- This is for control output, not for direct sensor telemetry.
CableIncluded DFRobot DFR0971 cable.
Buy links
Build support parts
Small parts that make the finished device stable and serviceable.
RecommendedQty 1
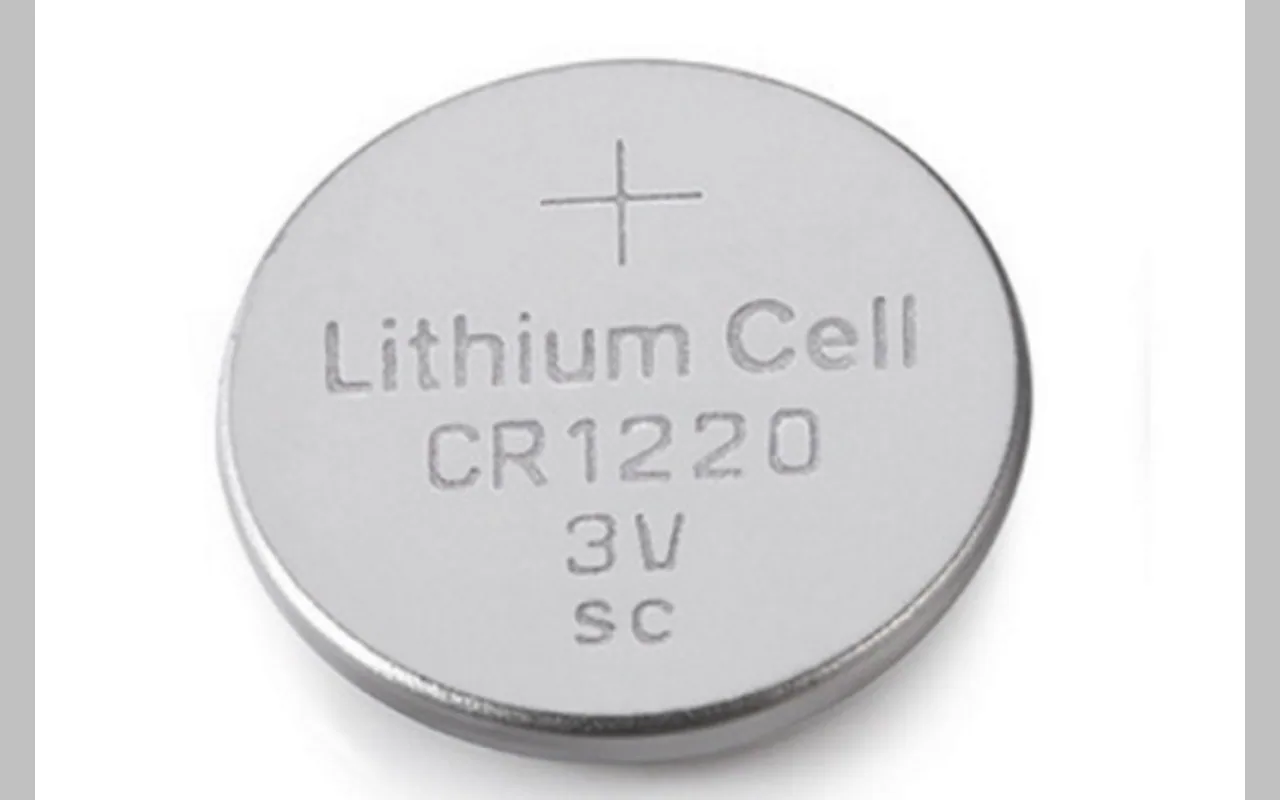
RTC battery
Keeps RTC time through power loss when the PCB RTC path is used.
- Model
- CR1220 3V lithium coin cell
- Port
- Battery holder / RTC area on the PCB
- Note
- Install with correct polarity.
CableNo cable.
RequiredQty 1
USB power supply
Powers the display board, PCB and sensors.
- Model
- Stable 5V / 2A USB power adapter
- Port
- USB-C on Waveshare board
- Note
- Weak USB supplies can look like firmware or sensor instability.
CableShort, good-quality USB-C power cable.
RequiredQty 1 set
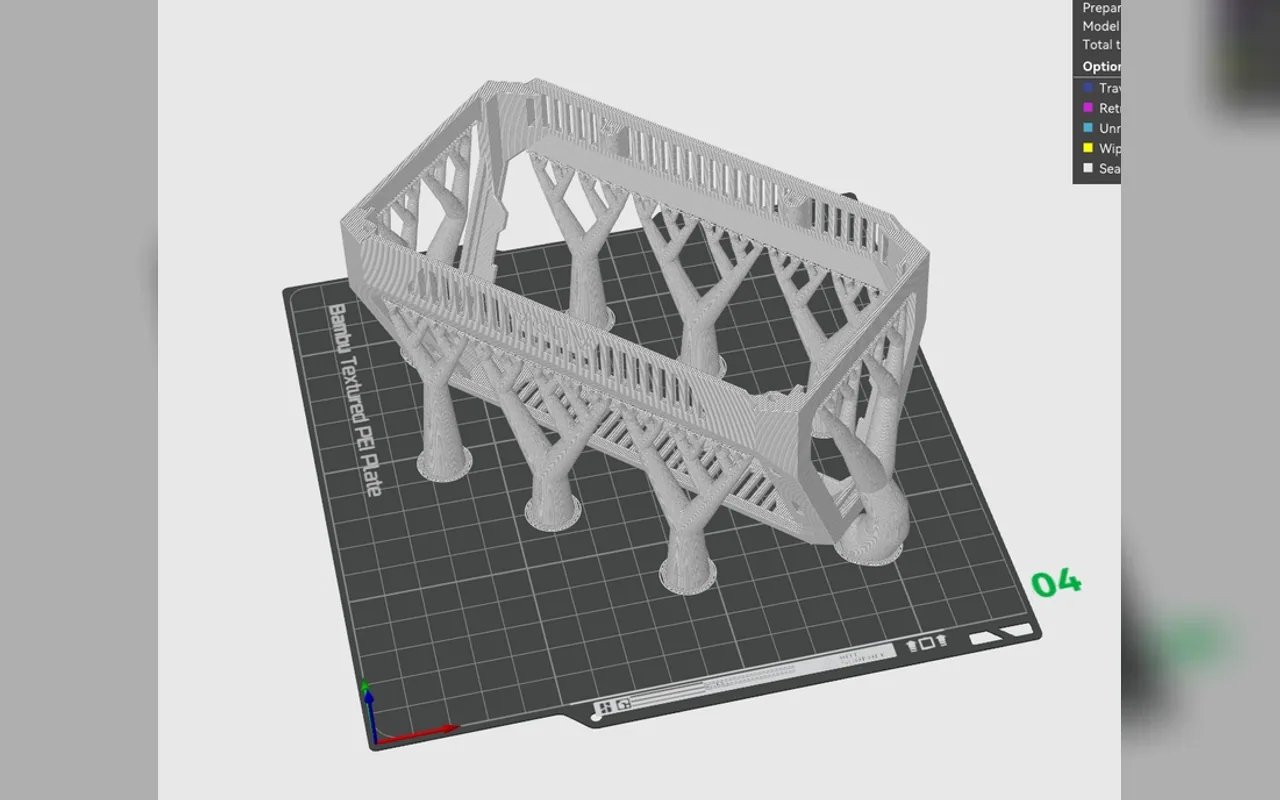
Printed enclosure and fasteners
Mechanical mount for display, PCB, SEN66 and optional sensors.
- Model
- MakerWorld enclosure files plus M2.5x6 screws
- Port
- Mechanical assembly
- Note
- Backers get enclosure files and the build guide on MakerWorld.
CableNo cable.
Buy links
Installer
A dedicated Aura AQ installer entry point.
Aura AQ now has its own installer URL on this site. Future Hub and Satellite firmware can use the same pattern without sharing the touchscreen Aura AQ manifest.
- Download the correct Aura AQ build resources from the MakerWorld project files.
- Open the Aura AQ installer lane.
- Connect the correct ESP32 board by USB.
- Flash the Aura AQ firmware only for this device family.
- Finish local setup from AP mode, then connect MQTT or Home Assistant.
Next structure
Repeat this template for every Aura device.
Each future ESP32 product should get a page with one firmware lane, one installer CTA, a compatibility block, a docs/source block and a public status. That keeps Aura AQ, Satellites, Hub and Link clear even when their firmware releases move independently.